WooCommerce Product Images: Best Practices for Better Shopping Experiences
Great product imagery does more than make an online store look attractive. It helps customers understand what they are buying. Discover 10 practical WooCommerce product image best practices, from choosing the right dimensions and formats to building effective galleries, improving loading performance, and creating interactive product previews.
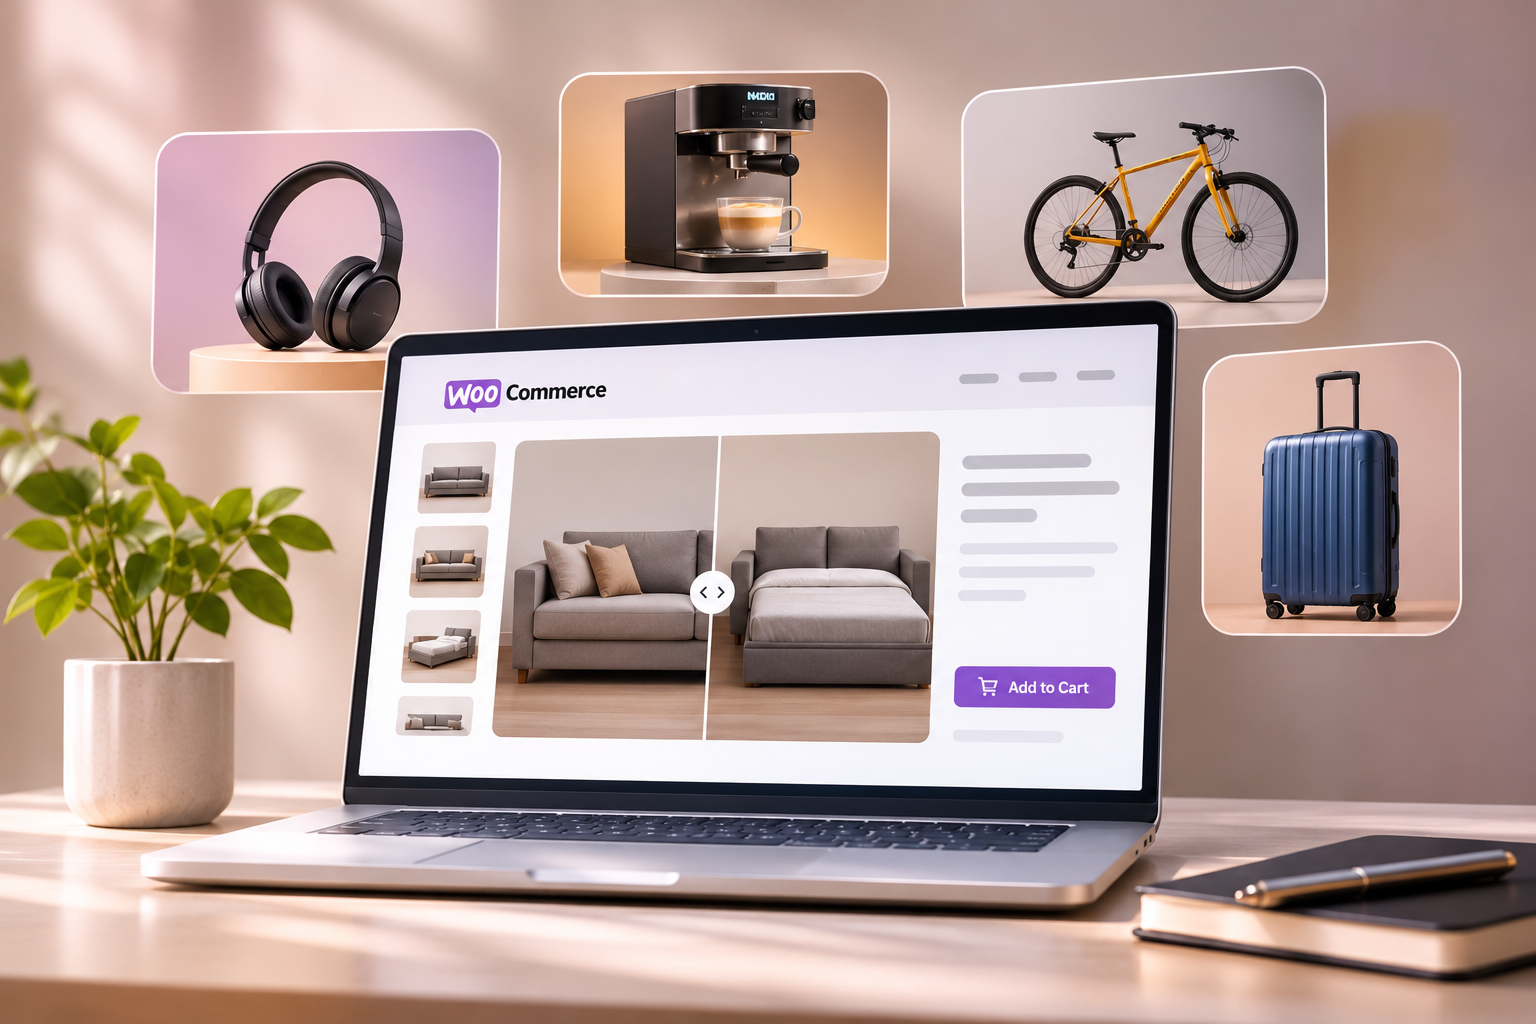
A customer shopping online cannot pick up a product, examine its finish, or test how it works.
Product images help bridge that gap.
Whether someone is buying a desk lamp, a piece of furniture, an electronic device, or a decorative accessory, photographs often provide the first meaningful impression of the product.
But uploading attractive images is only part of the process.
Poorly sized photographs, inconsistent cropping, missing details, and slow-loading galleries can make even a well-designed WooCommerce store difficult to shop.
The following 10 best practices will help you create product images that look professional, load efficiently, and give customers a clearer understanding of what they are buying.
1. Choose the Right WooCommerce Product Image Dimensions
One of the most common questions merchants ask is: What size should WooCommerce product images be?
There is no single image size that works perfectly for every store.
The right dimensions depend on your product category, storefront layout, theme, and the amount of detail customers need to examine.
According to WooCommerce's official product image documentation, uploading images of at least 800 x 800 pixels is recommended as a general starting point.
However, products requiring close inspection may benefit from larger source images.
Practical starting dimensions
| Image use | Suggested dimensions |
|---|---|
| Square product photography | 1200 x 1200 px |
| Detailed product photography | 1600 x 1600 px |
| Portrait-oriented products | 1200 x 1500 px |
| Landscape product presentations | 1600 x 1200 px |
These are practical production starting points, not mandatory WooCommerce specifications.
For example, a lighting store might use square images across its catalogue, while a furniture store may prefer a landscape composition that shows more of the surrounding environment.
The important considerations are adequate image resolution, consistent presentation, and compatibility with the storefront layout.
2. Maintain a Consistent Aspect Ratio
Imagine visiting a product category containing 12 items.
Some photographs are square, others are tall, and a few are extremely wide.
Even if each photograph is professionally produced, the overall catalogue may appear disorganized when the images are displayed together.
Consistent aspect ratios help create cleaner product grids and more predictable layouts.
For many stores, a 1:1 square ratio is a practical option.
However, fashion, artwork, furniture, and other categories may benefit from portrait or landscape ratios.
Best practice: Choose an image ratio based on your catalogue and apply it consistently within comparable product categories.
Also consider how WooCommerce crops thumbnails.
Depending on your theme and configuration, images may be displayed with square, custom-ratio, or uncropped thumbnails.
Avoid cropping important product details merely to force every photograph into the same shape.
3. Use Multiple Images to Tell the Complete Product Story
A single product photograph rarely communicates everything a customer needs to know.
A well-prepared WooCommerce gallery should answer questions progressively.
For example, a decorative table lamp might include:
A clean primary product photograph
A side or rear view
A close-up of materials and finishes
A photograph showing its actual scale
A lifestyle image in a realistic room
An illuminated product view
Each image serves a different purpose.
The primary photograph introduces the product. Additional views help shoppers inspect its design, details, proportions, and functionality.
WooCommerce provides native product gallery functionality, so merchants can present multiple images without building a custom gallery from scratch.
The objective is not to upload as many photographs as possible.
It is to include enough useful perspectives to answer important customer questions.
4. Optimize Product Images Without Sacrificing Quality
Large image files can slow down a storefront, particularly when several product photographs load on the same page.
A photograph exported directly from a professional camera may contain far more data than a browser needs.
Optimizing these files can reduce transfer size while preserving visual quality.
Choose an appropriate image format
JPEG: A reliable choice for photographic images with complex colors and textures.
WebP: Often provides efficient compression for product photography, with broad browser support.
AVIF: Can deliver strong compression efficiency, although support across the complete WordPress hosting and image-processing setup should be verified.
PNG: Useful when transparency or lossless graphics are important, although photographic PNG files can be unnecessarily large.
There is no universal file-size target for every product image.
A detailed lifestyle photograph may require more data than a simple studio image.
Use the smallest file that maintains acceptable quality at its intended display size.
Additional optimization tips
Export images at suitable dimensions before uploading.
Avoid repeatedly compressing already compressed images.
Use responsive images where supported.
Check whether your hosting setup or image optimization plugin generates modern formats.
Review the visual result on both standard and high-density displays.
WordPress includes responsive image capabilities that allow browsers to select among different image sizes.
A properly configured theme can take advantage of this functionality without requiring merchants to upload separate images for every screen.
5. Use Clear, Consistent Product Photography
A professional-looking product catalogue is not necessarily created with expensive equipment.
Consistency often matters just as much as production complexity.
Consider a store selling designer lighting fixtures.
If every product is photographed with different lighting, camera angles, backgrounds, and proportions, comparing the products becomes harder.
A consistent photography approach helps customers focus on the products rather than differences in presentation.
Recommended approach
Use a repeatable setup for similar products.
Keep camera angles consistent where practical, maintain comparable lighting conditions, and avoid unnecessary background clutter.
Ensure product colors remain accurate.
If a brass fixture appears gold in one photograph and brown in another, customers may struggle to understand its actual finish.
Lifestyle photography can introduce variety, but it should complement rather than replace clear product-focused imagery.
A useful catalogue combines visual consistency with enough contextual information to make each product understandable.
6. Show Products in Realistic Environments
Studio photography is excellent for showing product details.
However, it does not always communicate how something will look in everyday use.
A ceiling light shown against a white background may reveal its shape and finish, but a room photograph can help customers understand its visual scale and appearance when installed.
The same principle applies to furniture, appliances, and decorative accessories.
For these products, consider including contextual photographs that demonstrate:
Approximate size and proportions
Placement within a realistic environment
Relationships with surrounding objects
Functional configurations
How the product appears during ordinary use
Keep representations accurate.
Avoid digitally altering product proportions or using unrealistic lighting effects that could misrepresent the item.
When image editing or rendering is involved, verify that the final presentation reflects the product customers will receive.
7. Prepare Images for Interactive Product States
Some products cannot be explained adequately through different camera angles alone.
Their appearance changes depending on how they are used.
Consider a wall light.
A photograph of the fixture switched off shows its physical design, while an illuminated photograph demonstrates how it looks when operating.
Both images are useful.
But there is an additional opportunity: allowing shoppers to compare those states directly.
StateSwitch - Product State Switcher for WooCommerce is designed for this type of presentation, enabling merchants to switch between two merchant-defined visual product states.
For example, merchants can show:
A wall light in its on and off states
A cabinet with its doors open and closed
A decorative item in two visual configurations
A convertible product in its compact and expanded forms
A device with its display active and inactive
How to prepare images for state switching
For the best visual results, prepare both states with matching characteristics.
1. Use the same camera position. A fixed camera angle keeps the comparison focused on the actual product change.
2. Match the image dimensions. Both images should use identical pixel dimensions and aspect ratios.
3. Maintain consistent framing. The product should occupy approximately the same position within each image.
4. Control background differences. Keep the background stable unless its change is an intentional part of the demonstration.
5. Optimize both files. An interactive preview should not require unnecessarily large image downloads.
An on/off lighting demonstration may naturally alter the surrounding illumination. That is useful when it accurately represents the product's effect.
The goal is to make the change meaningful, not artificially dramatic.
Interactive product-state previews complement conventional image galleries by helping shoppers compare a specific visual feature directly.
8. Pay Attention to Mobile Product Images
Product photography that looks impressive on a desktop may behave differently on a smartphone.
Images can appear too small, important details may be cropped, and gallery controls may become difficult to use.
Mobile layouts also place greater importance on image loading performance.
What to test
Check the storefront on actual mobile devices.
Confirm that:
The main product remains clearly visible.
Important details are not accidentally cropped.
Gallery thumbnails and controls are usable.
Zoom functionality works where provided.
Images do not cause unexpected layout movement.
Interactive controls are comfortable to tap.
Do not assume that a smaller screen requires a completely different photograph.
Responsive image delivery can often serve appropriately sized versions of the same source image.
However, some products may benefit from mobile-specific compositions when important details would otherwise become too small.
9. Improve Product Image SEO and Accessibility
Product images can contribute to search visibility, but image optimization should begin with usefulness and accessibility.
Search engines need context to understand images, while customers using assistive technologies need meaningful descriptions of important visual content.
Write descriptive image filenames
Instead of uploading a file named:
IMG_00482.jpg
Use a descriptive filename such as:
brass-wall-light-switched-on.webp
Keep filenames concise and relevant to the actual image.
Add meaningful alternative text
Alternative text should describe important visual information.
For example:
"Brass wall light with a black shade, switched on with warm illumination."
Avoid filling image descriptions with repeated keywords.
When an image communicates a meaningful difference, such as an appliance shown open versus closed, the alternative text should reflect that distinction.
Decorative images that convey no additional information may appropriately use empty alternative text.
Provide relevant product context
Descriptive product titles, accurate specifications, and supporting text help customers and search engines understand the image within its product page.
Use product structured data where appropriate, and verify that image URLs are accessible to search engines.
Avoid relying on filenames or alternative text alone to communicate the entire product.
10. Review Image Performance and Presentation Regularly
Product image optimization is not a one-time task.
Themes change. New products are added. Image plugins are updated. Merchants introduce different photography styles.
Over time, inconsistencies can develop.
Create a simple image-quality review process.
Review these areas periodically
Image clarity: Check whether product photographs appear sharp across different devices.
Cropping: Look for important product details being cut off in catalogue grids or galleries.
Loading performance: Measure relevant pages using tools such as Google PageSpeed Insights.
Broken images: Confirm that product images load reliably and do not reference missing media files.
Gallery behavior: Test zoom, navigation, thumbnails, and image switching.
Accessibility: Verify alternative text and keyboard-accessible gallery controls.
Conversion behavior: Review product page analytics and customer feedback to identify where imagery may need improvement.
If previously uploaded images remain blurry after theme or image-setting changes, WooCommerce provides tools for regenerating shop thumbnails.
Always maintain an appropriate backup before making large-scale changes.
Better Product Images Create Better Product Experiences
Great WooCommerce product imagery is about more than attractive photographs.
It combines clarity, consistency, accuracy, performance, and thoughtful presentation.
A strong product gallery helps shoppers examine an item from different perspectives.
Optimized images help the page load efficiently.
Relevant descriptions and alternative text improve accessibility and understanding.
And when a product has meaningful visual states, interactive previews can make those differences easier to explore.
Tools such as StateSwitch introduce this additional layer of product interaction without replacing the familiar WooCommerce shopping experience.
The best product image strategy is one that helps customers understand exactly what they are buying.
Start with quality photographs, prepare them carefully, and add interaction where it contributes something genuinely useful.
Frequently Asked Questions
What is the best image size for WooCommerce products?
WooCommerce recommends source images of at least 800 x 800 pixels as a general starting point. Many stores may benefit from larger source images, such as 1200 x 1200 pixels, depending on the theme, product detail, and zoom requirements.
Should WooCommerce product images be square?
Square images are a practical choice for many catalogues, but they are not mandatory. Portrait or landscape images can work well when they better suit the product and storefront layout.
Is WebP better than JPEG for WooCommerce?
WebP often achieves smaller file sizes than comparable JPEG photographs while maintaining acceptable visual quality. Actual results vary by image, compression settings, and delivery configuration.
How many images should a WooCommerce product have?
There is no universal number. Include enough images to show important angles, details, scale, and functionality without adding repetitive photographs.
Can WooCommerce show before-and-after product images?
Yes. Merchants can include before-and-after photographs in product galleries. For a more direct two-state comparison experience, a compatible plugin such as StateSwitch can provide interactive product-state switching.
How do I fix blurry WooCommerce product images?
Check the dimensions of the original uploads, review the image size settings used by your theme, inspect responsive image delivery, and regenerate thumbnails if settings have changed. Avoid enlarging low-resolution images beyond their useful display size.
From the Journal
Continue Exploring
Why Interactive Product Demonstrations Matter in eCommerce
Online shoppers cannot touch, test, or experience products before buying. Interactive product demonstrations help bridge that gap by showing how products look, work, and change in real-world situations. Discover why visual interaction matters in eCommerce and how WooCommerce stores can create more engaging product experiences without unnecessary complexity.
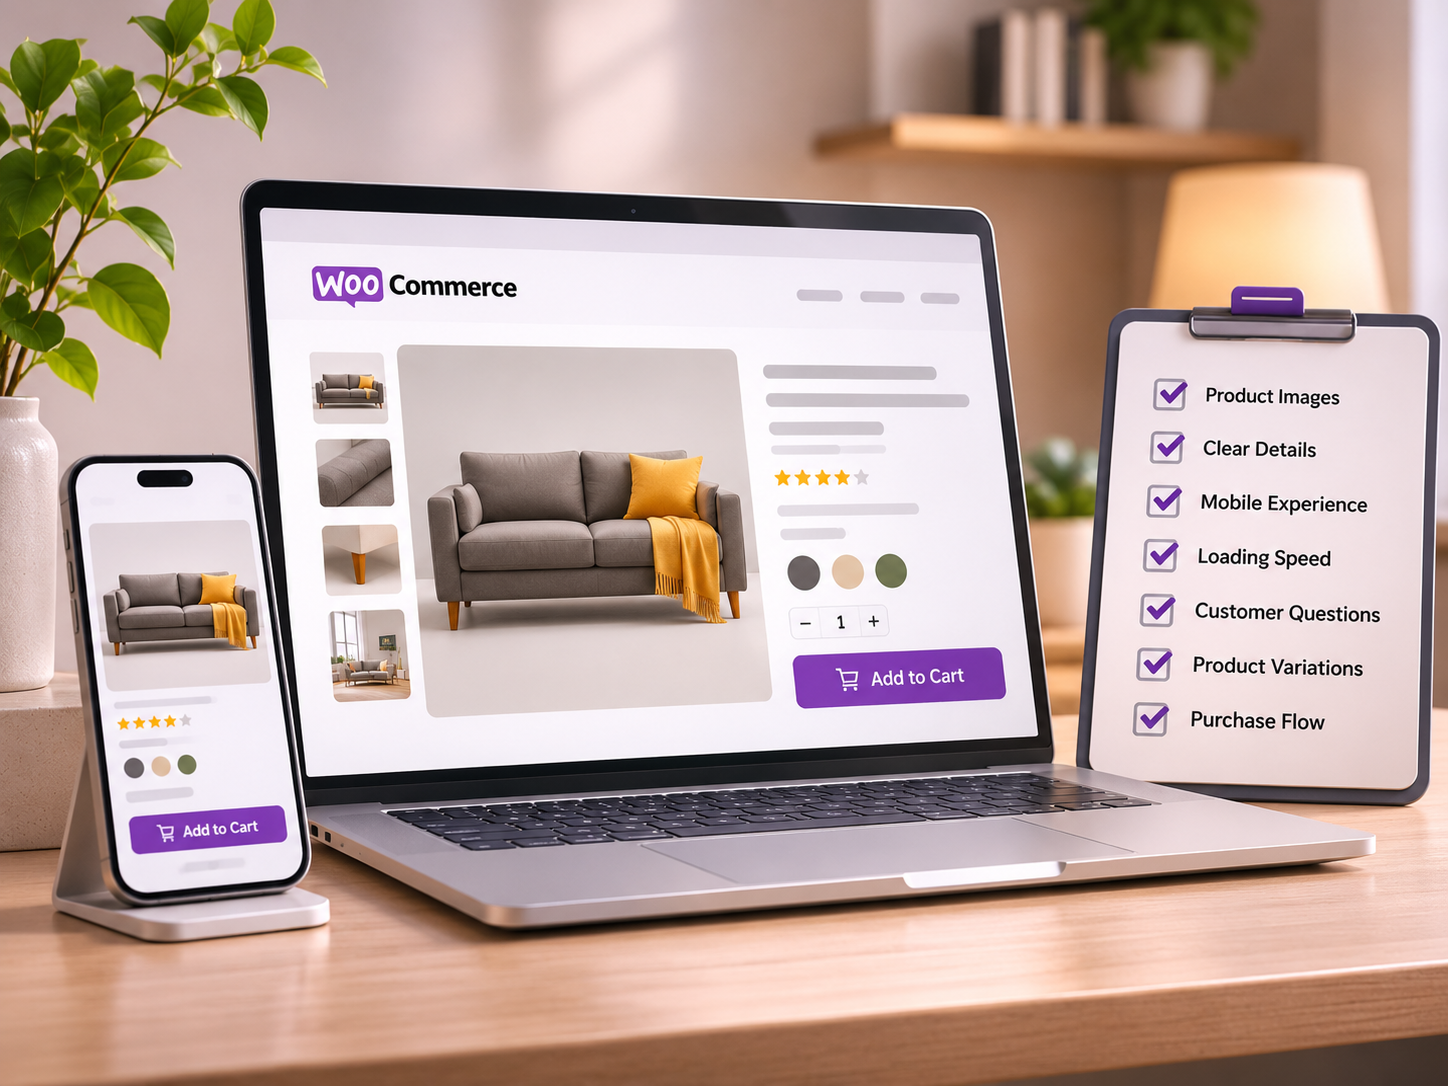
7 WooCommerce Product Page Mistakes That Could Be Costing You Sales
Your WooCommerce product page could be losing potential customers without you realizing it. From poor product imagery and slow loading times to missing interactive experiences, discover seven common mistakes and practical ways to create better shopping experiences that help customers buy with confidence.
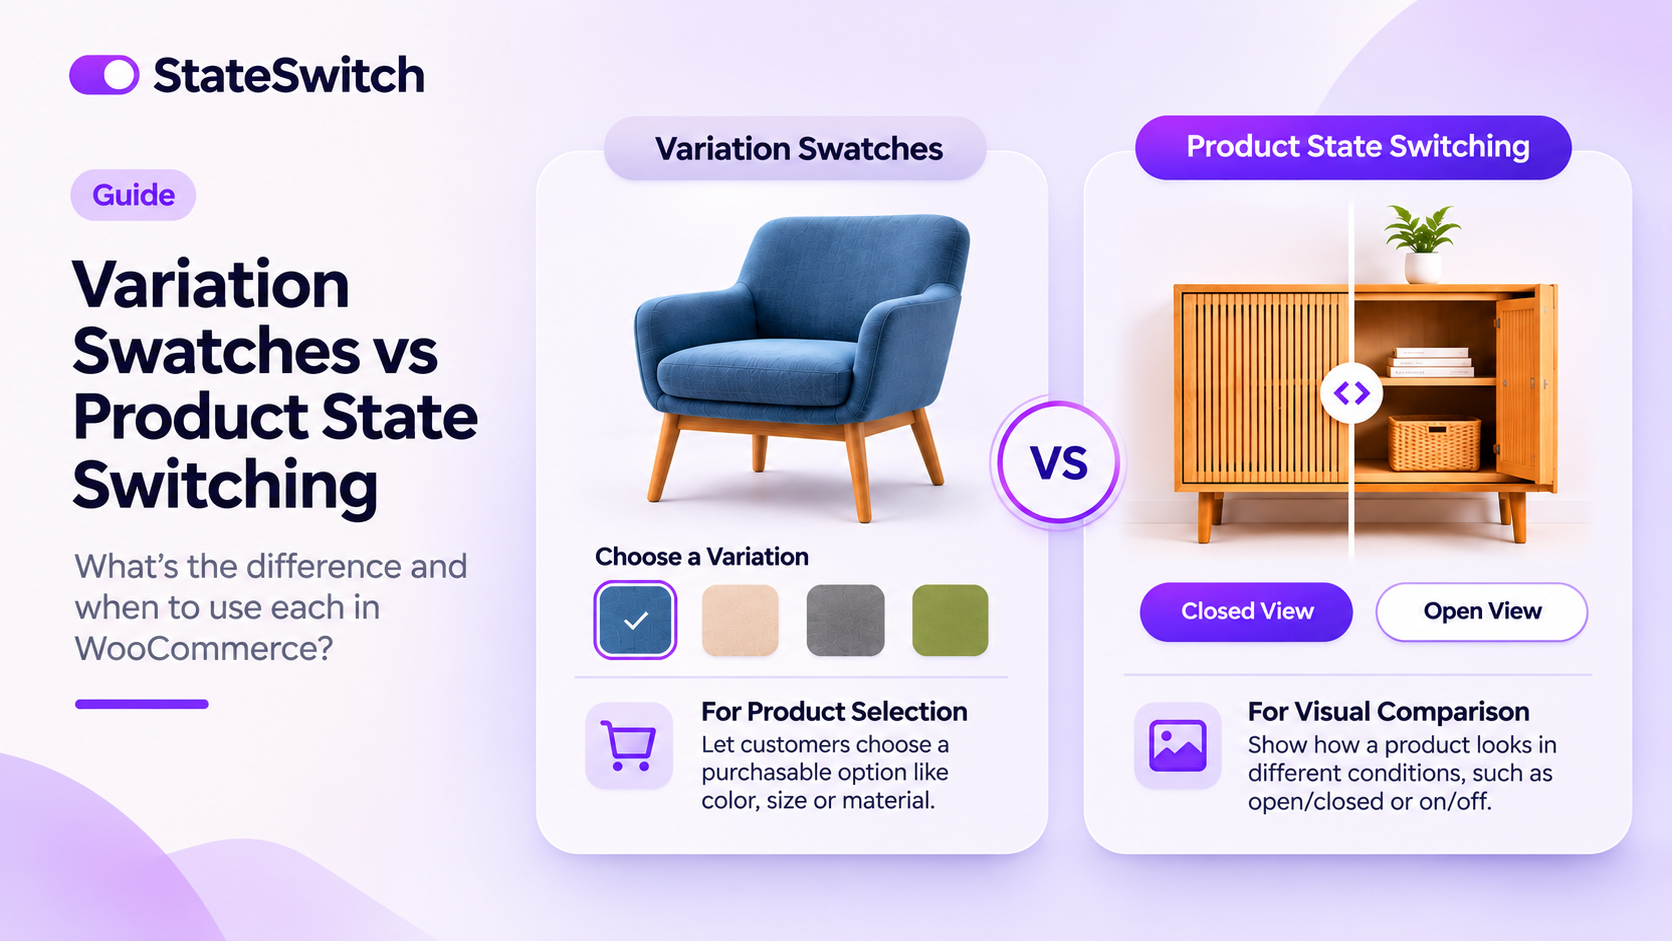
WooCommerce Variation Swatches vs Product State Switching: What's the Difference?
WooCommerce variation swatches and product state switching may look similar, but they serve different purposes. Discover how each works, when to use them, and how to create a more interactive shopping experience with the right product presentation tools.